
Getting Started With Your Waterloo Works Loom
Welcome to loom weaving! Whether you are brand new to fiber arts or just new to working with a small frame loom, this guide will walk you through the basics.
Your Waterloo Works loom is designed to help you create woven pieces using yarn, fiber, thread, or other weaving materials. You can use it to make small wall hangings, sample swatches, coasters, decorative panels, fiber art pieces, and more.
Just remember, there is no perfect first project. The goal is to learn, play, and enjoy the process
What Is a Loom?
A loom is a tool that holds vertical strands of yarn or thread in place while you weave other yarn over and under those strands.
The vertical strands are called the warp.
The yarn you weave across the warp is called the weft.
Together, the warp and weft create woven fabric.
Parts of a Loom
Your loom may be small or large, but the basic parts work the same way.
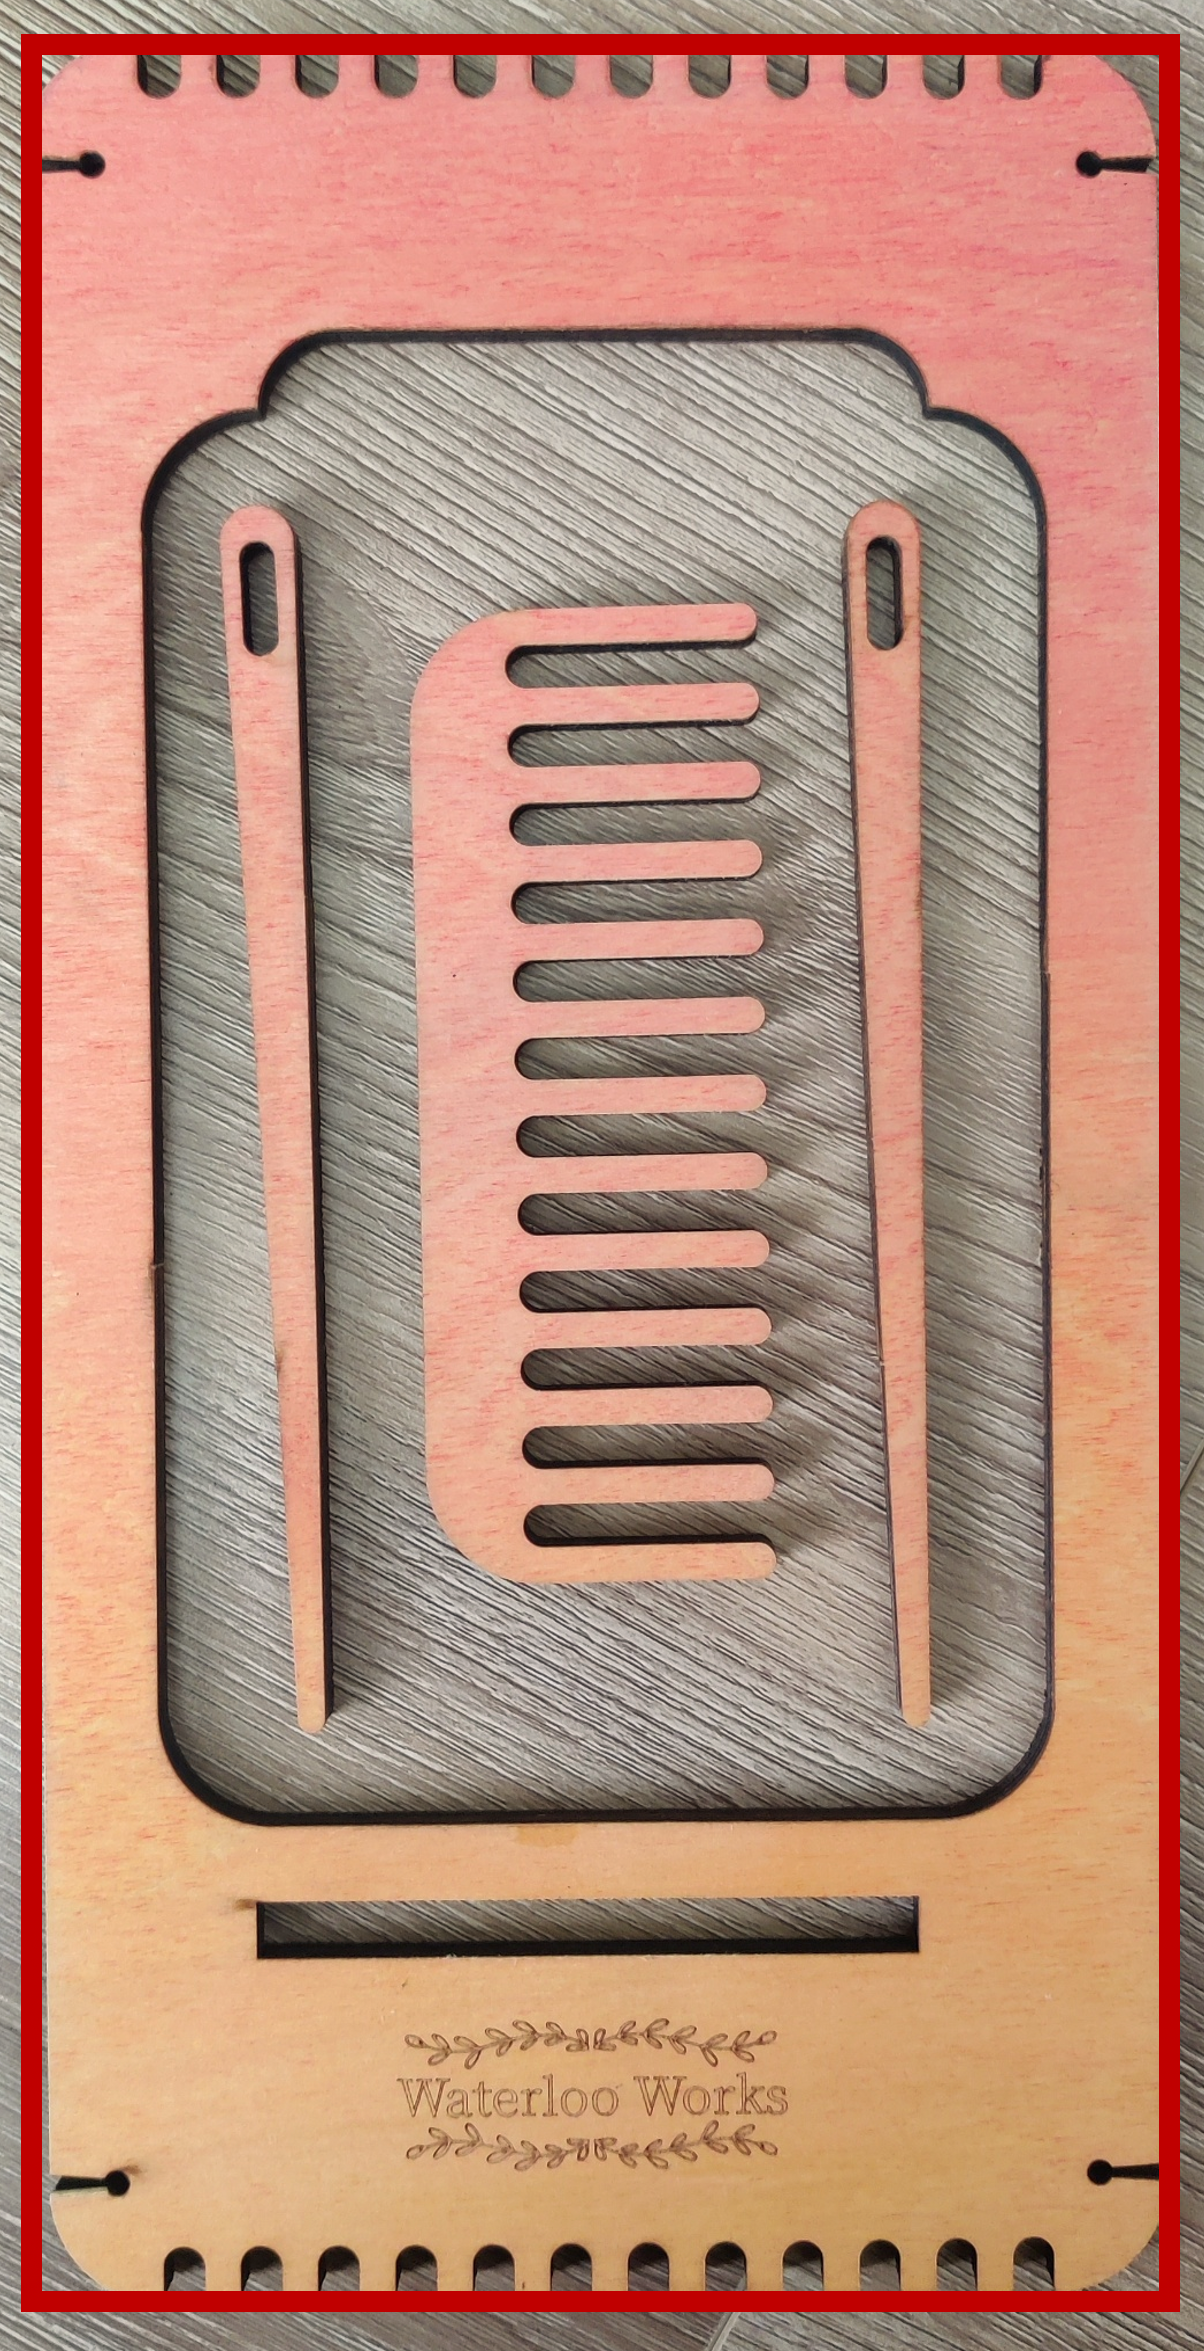
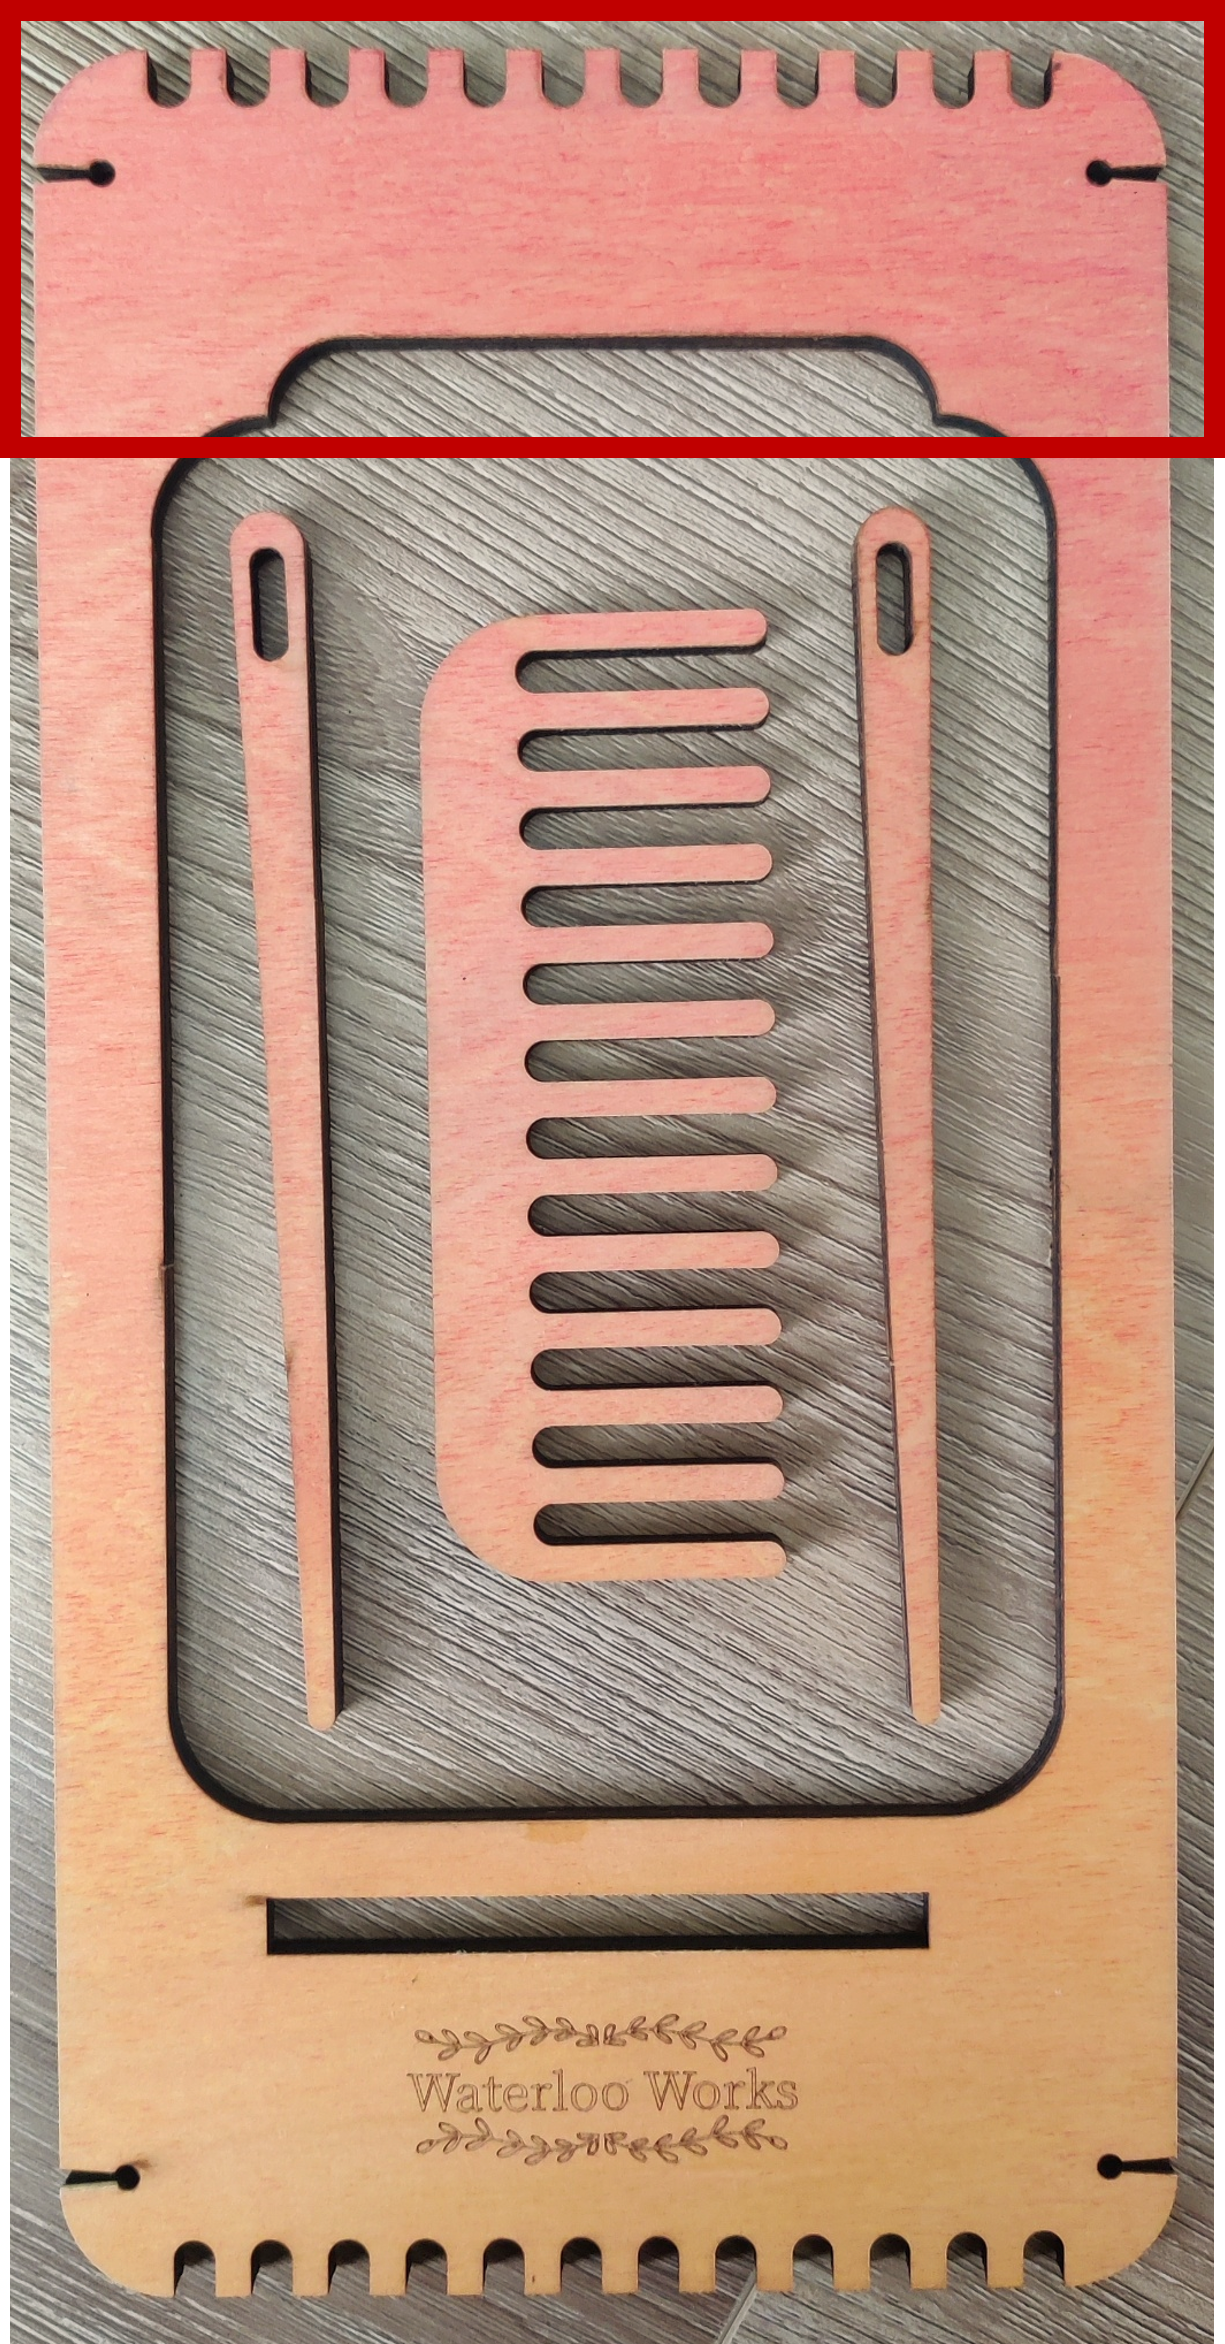
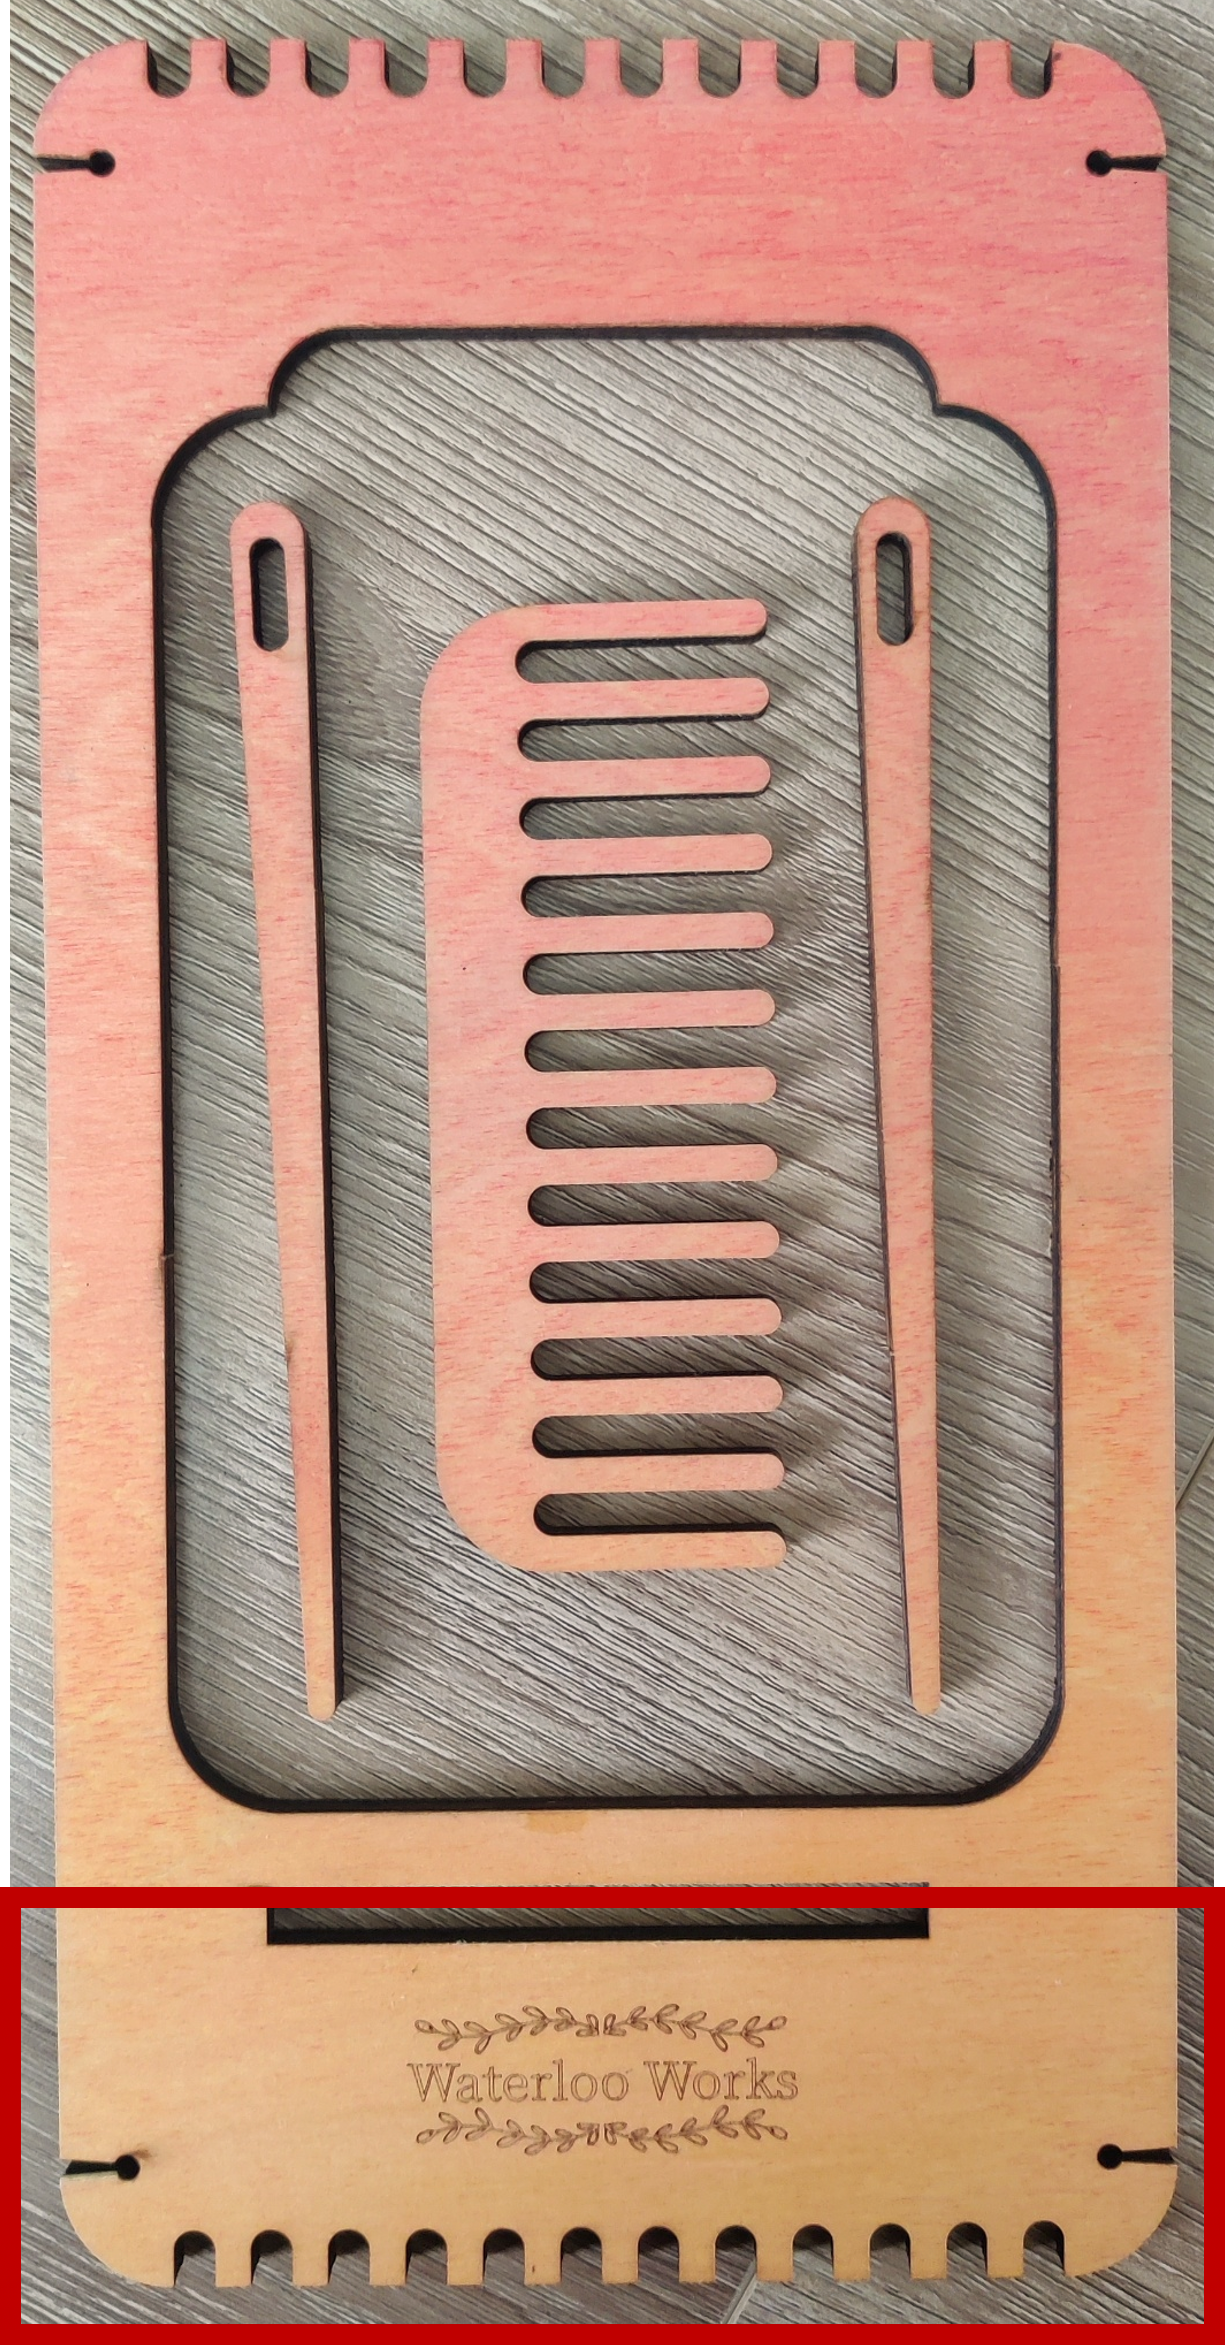
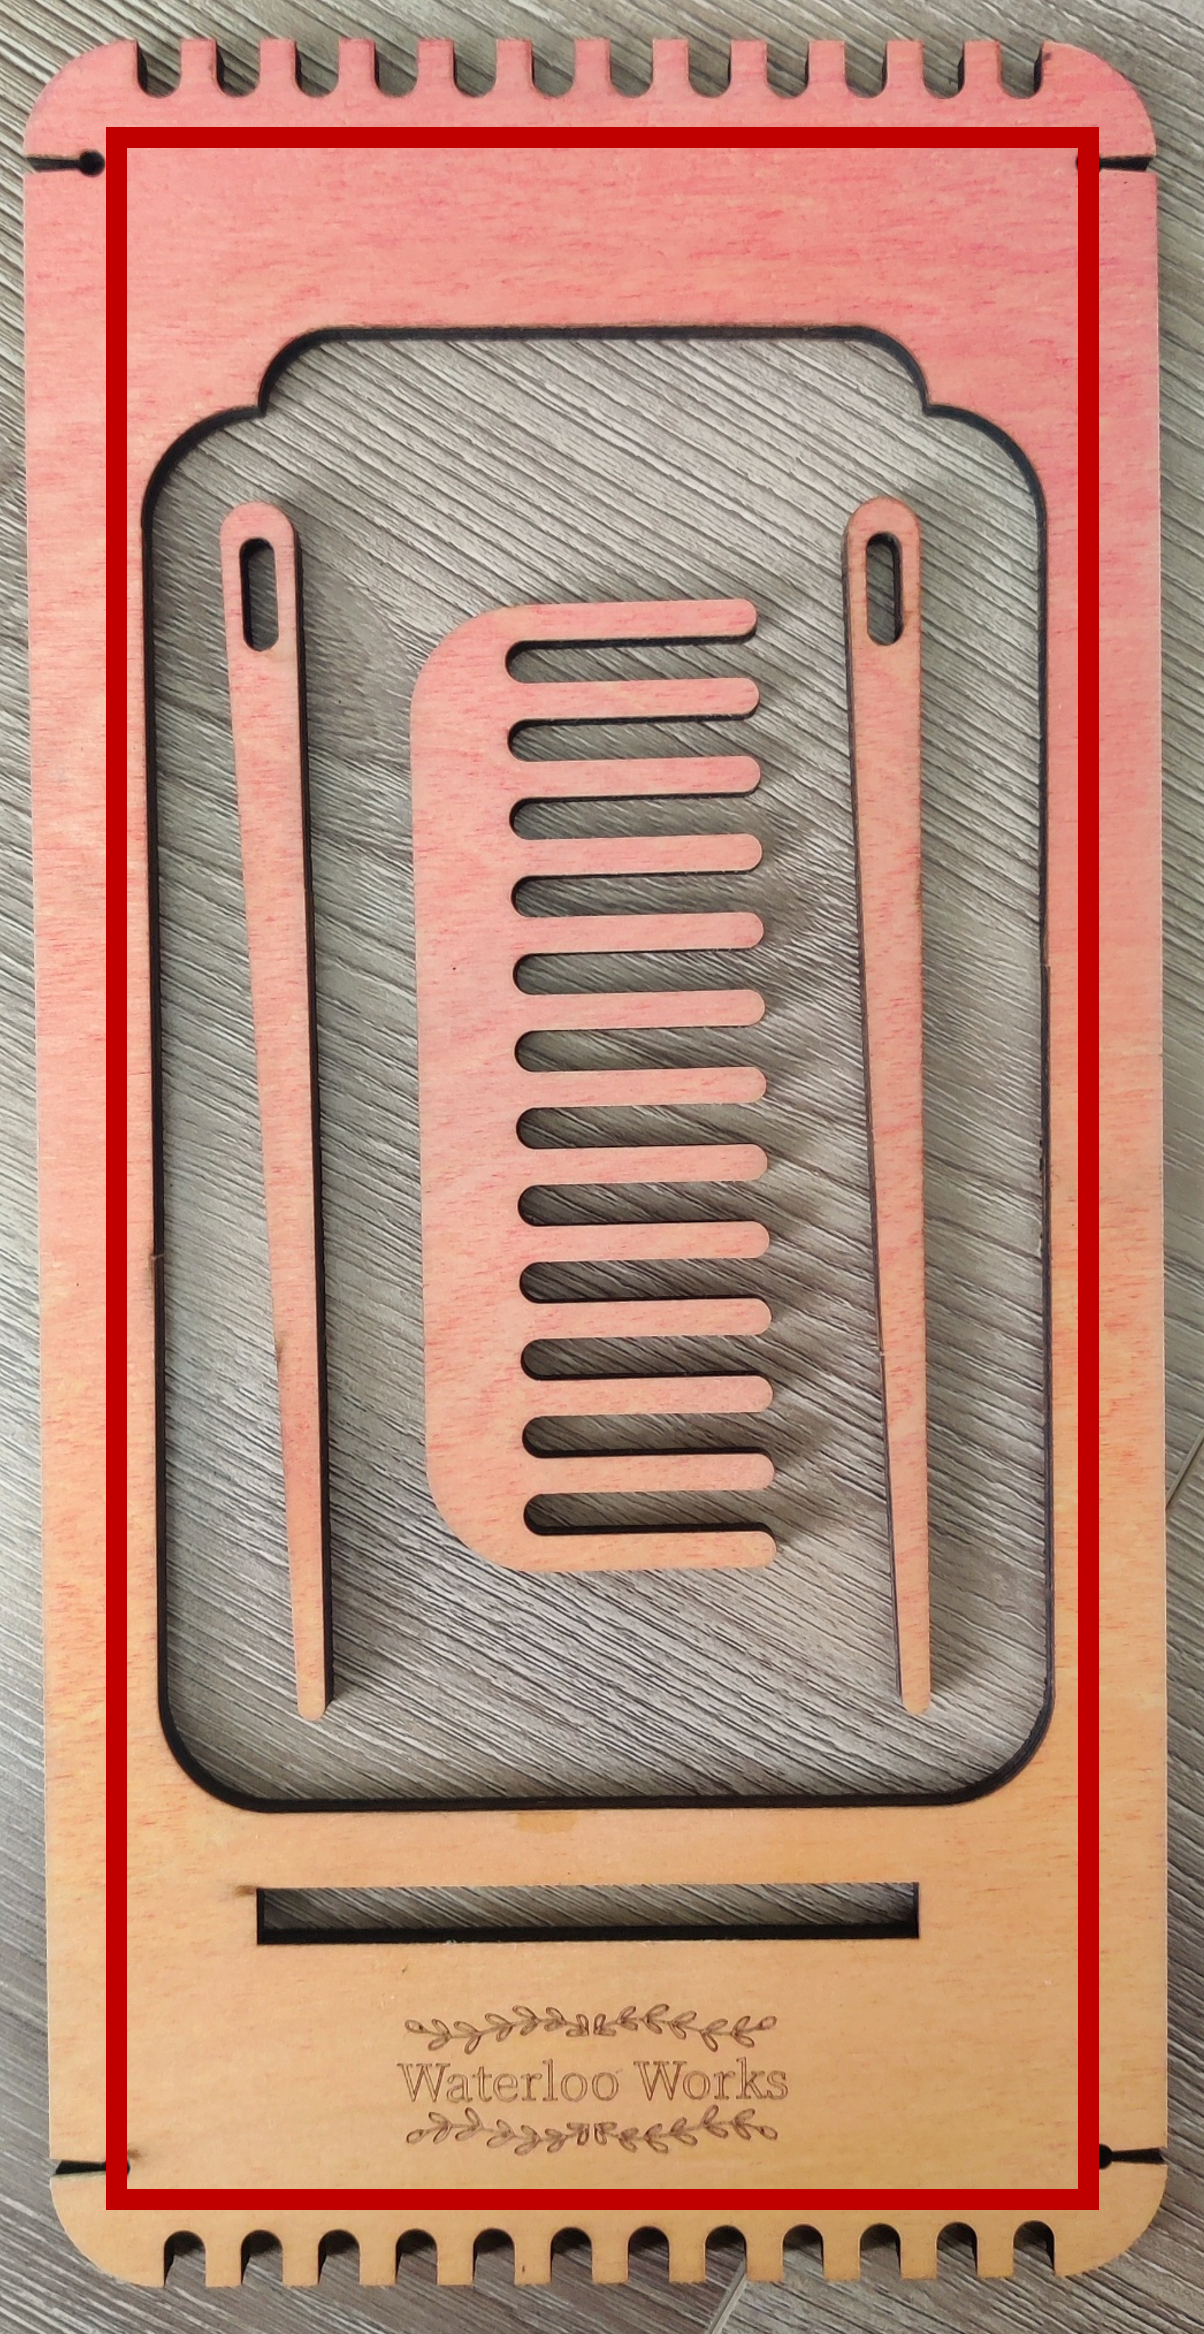
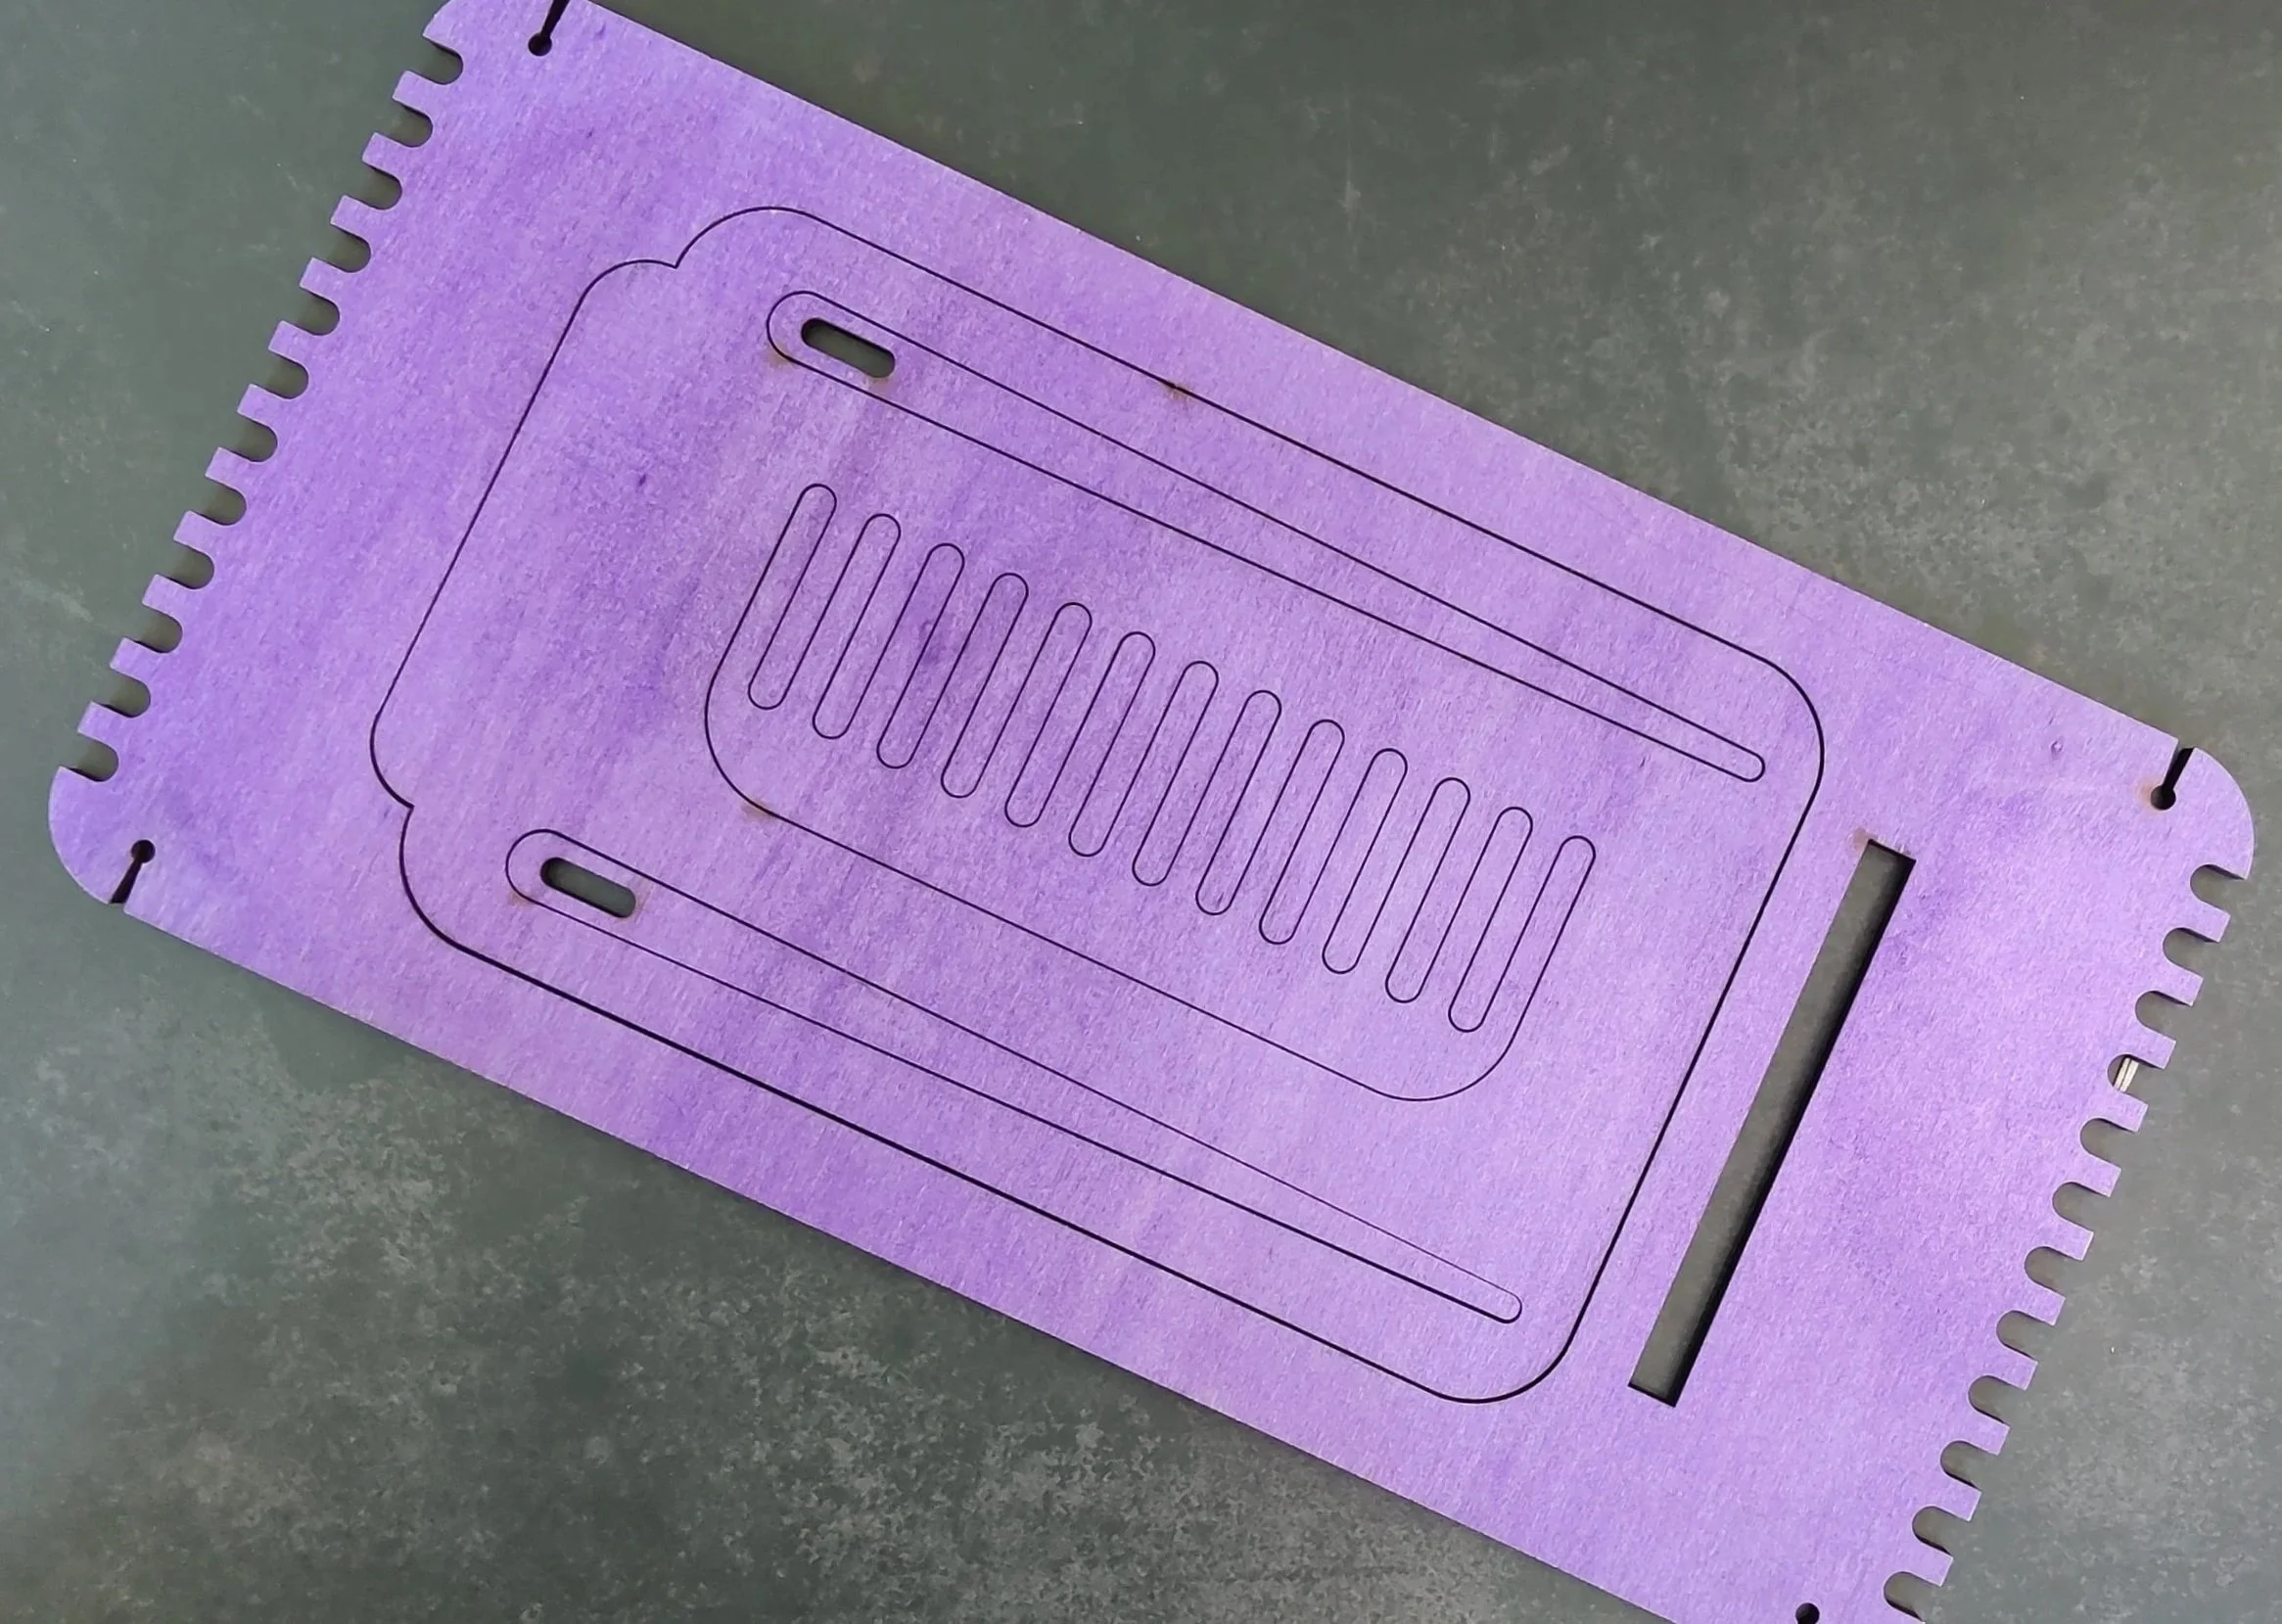
Frame - The frame is the outer structure of the loom. It holds everything in place while you weave.
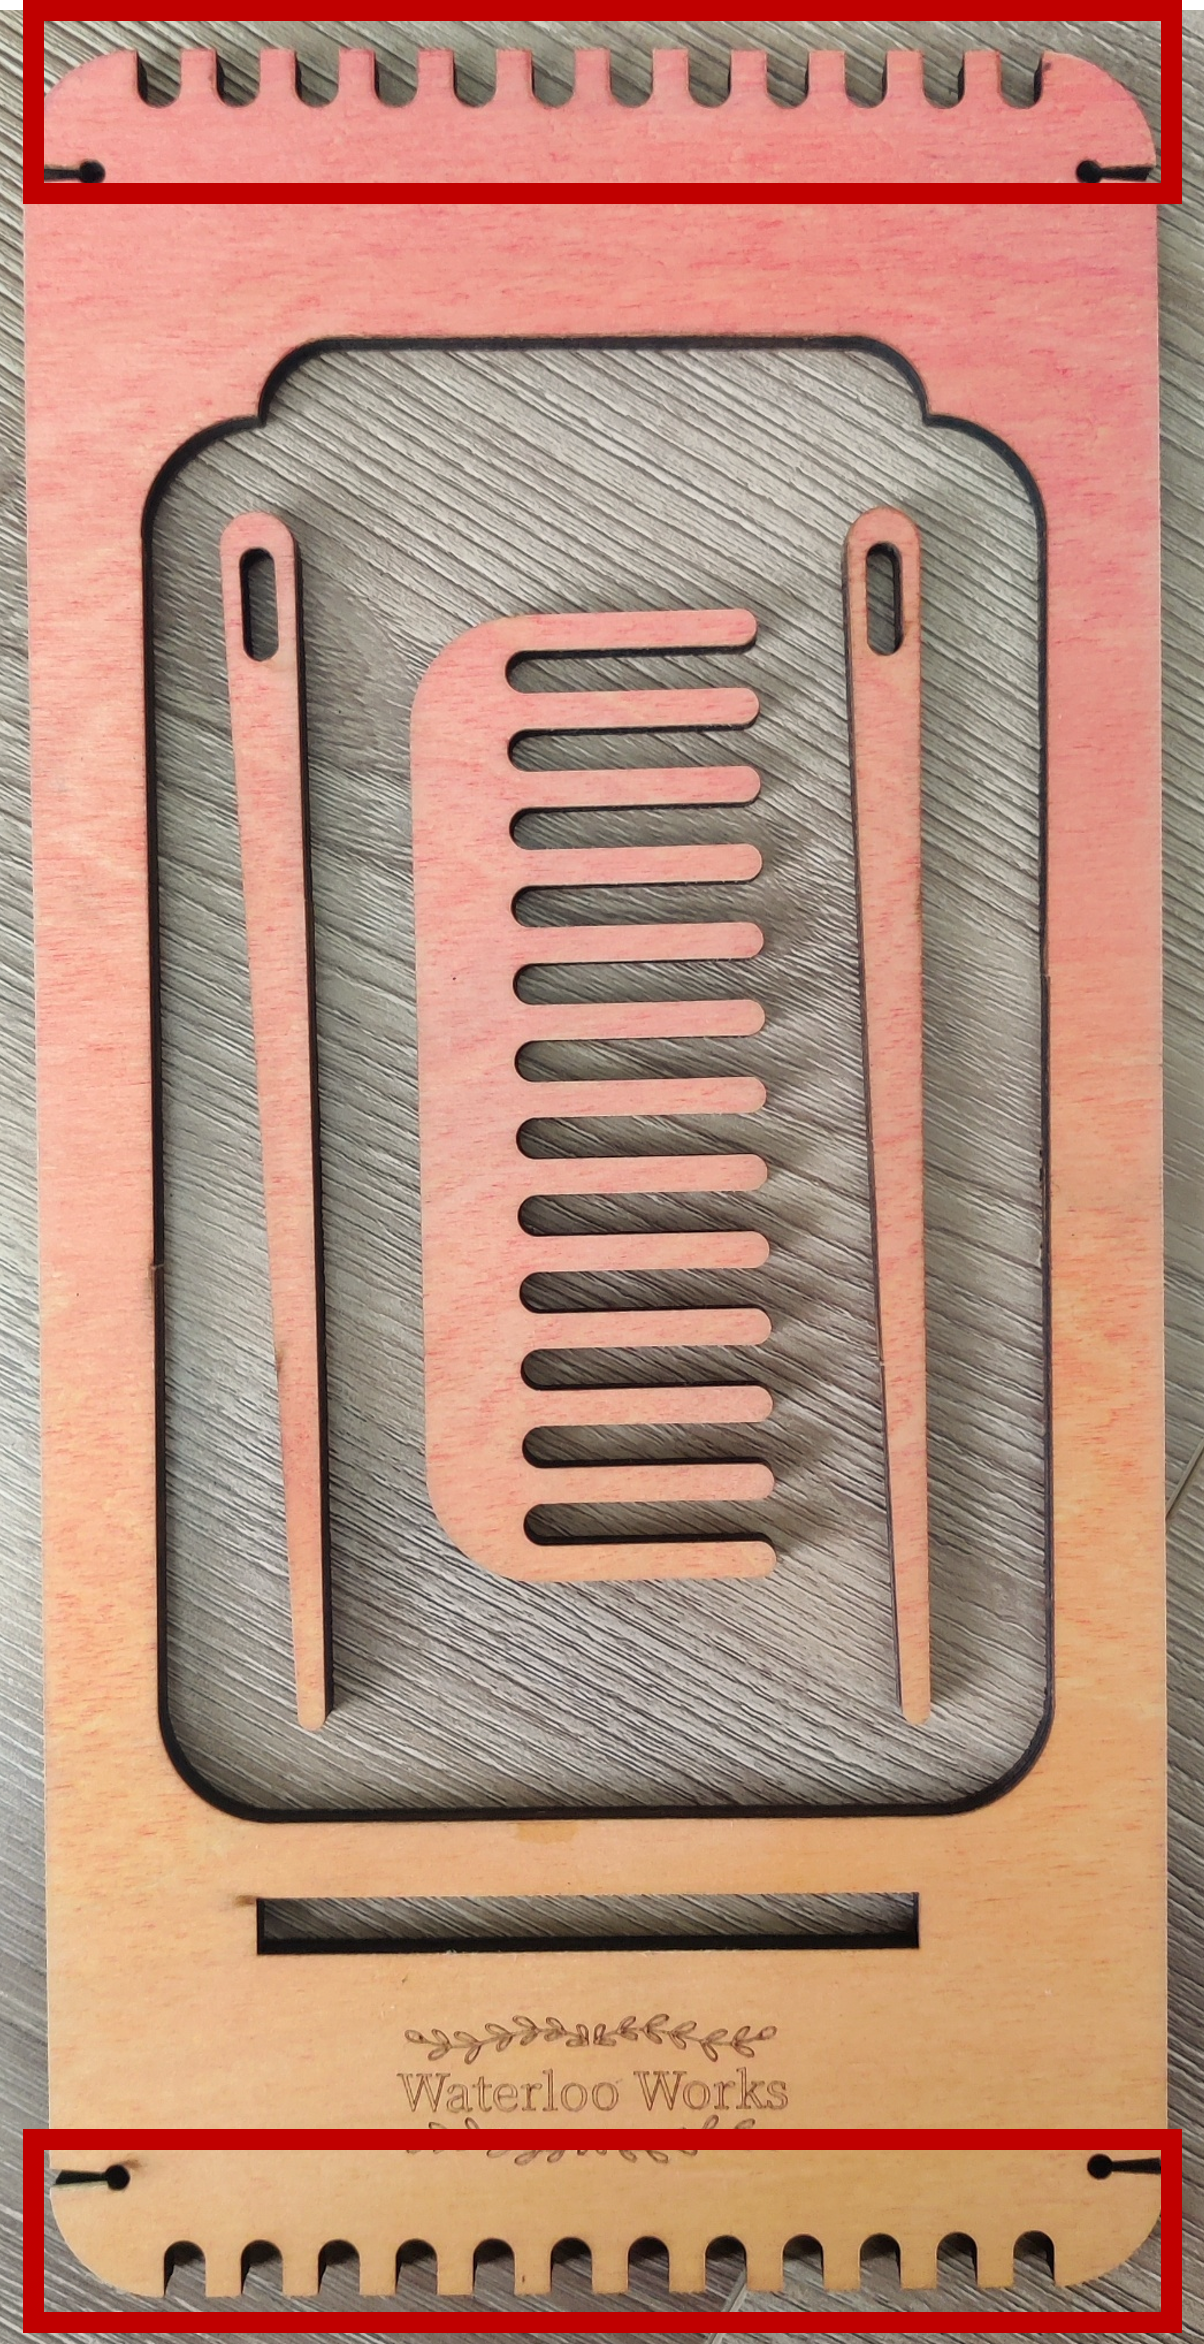
Teeth, Slots, or Notches - These are the small spaces or cutouts along the top and bottom of the loom. They hold the warp yarn in place and help keep your strands evenly spaced.
Top Bar - The top bar is the upper edge of the loom. Your warp yarn wraps around this area as you set up the loom.
Bottom Bar - The bottom bar is the lower edge of the loom. The warp yarn also wraps around this area to create tension.
Warp Area - This is the open space in the center of the loom where your weaving happens.
Basic Loom Weaving Terms
Here are a few common terms that will help you as you learn.
Warp - The warp is the yarn or thread that runs vertically on the loom. These strands are added first and stay in place while you weave.
Weft - The weft is the yarn, thread, or fiber that moves side to side across the warp. This is the yarn you use to create your design.
Shed - The shed is the space created when some warp threads are lifted or separated so the weft yarn can pass through. On a small beginner loom, you usually create the shed by moving your needle over and under the warp threads.
Tension - Tension means how tight or loose your yarn is. Your warp should be snug, but not so tight that it bends the loom or becomes hard to weave through. Your weft should also be gently placed, not pulled too tight.
Beating Down - Beating down means gently pushing each row of weft yarn into place after you weave it across. Use the weaving comb included with your loom to gently press the yarn down.
Tail - A tail is the loose end of yarn left at the beginning or end of a strand. Tails can be woven into the back of your project later to keep everything secure.
Selvage - The selvage is the side edge of your woven piece. Good selvage means your edges stay fairly straight and are not pulling inward too much.
Supplies You Need
To start weaving, you will need:
A Waterloo Works loom – it includes:
Loom frame
Tapestry needle
Weaving comb
Yarn, thread, or fiber for the warp
Yarn, thread, or fiber for the weft
Scissors
For beginners, a smooth medium-weight yarn is a good place to start. Very fuzzy, slippery, or delicate yarns can be harder to learn with.
Let’s Start Weaving
Step 1: Choose Your Warp Yarn
Start with a yarn or thread that is strong enough to hold tension.
Good beginner warp options include:
Cotton yarn
Cotton string
Strong wool yarn
Smooth acrylic yarn
Crochet cotton
Embroidery floss for tiny projects
Try not to use yarn that breaks easily, stretches too much, or sheds heavily for your first project.
Step 2: Warp the Loom
To warp the loom means to add the vertical yarn strands.
Tie your warp yarn to the bottom corner of the loom.
Bring the yarn up to the top of the loom and place it into the first notch, slot, or space.
Wrap the yarn around the top and bring it back down to the bottom.
Place the yarn into the matching bottom notch, slot, or space.
Continue wrapping the yarn from bottom to top and top to bottom until your weaving area is as wide as you want it to be.
Keep the tension snug and even as you go.
When you are finished, tie the yarn securely to the loom.
Your warp should feel firm but not overly tight. If the loom is bending or the yarn feels difficult to move, the warp may be too tight.
Step 3: Start Weaving
Cut a piece of weft yarn. It is easier to work with a shorter piece rather than a very long strand.
Thread the weft yarn onto the tapestry needle.
Starting near the bottom of the loom:
Take the needle over the first warp thread.
Go under the next warp thread.
Continue across the row, going over one, under one, over one, under one.
Pull the weft yarn through gently.
Leave a small tail at the edge. Do not pull it tight.
This creates your first row.
Step 4: Weave the Next Row
For the second row, you will do the opposite of the first row.
If your first row went: Over, under, over, under
Your second row should go: Under, over, under, over
This locks the yarn together and creates woven fabric.
Continue weaving back and forth, switching the over-under pattern on each row.
Step 5: Keep Your Edges Straight
As you weave, be careful not to pull the weft yarn too tightly across the row.
If you pull too hard, the sides of your weaving may curve inward. This is called draw-in.
To help prevent draw-in:
Leave a tiny curve or arch in the weft yarn before pushing it down.
Gently press the row into place.
Avoid yanking the yarn at the side edges.
Check your edges every few rows.
Straight edges take practice, so do not worry if your first project is a little wavy. That is part of learning.
Step 6: Beat Down Each Row
After each row, with the weaving comb, gently push the weft yarn down toward the bottom of the loom.
The goal is to move the yarn into place without packing it too tightly.
If you want a dense fabric, push the rows closer together.
If you want a looser, more open look, leave more space between rows.
Step 7: Changing Yarn Colors
To change colors:
Stop weaving with your current yarn.
Leave a small tail on the back or side of the weaving.
Thread your new yarn onto the needle.
Begin weaving where the last yarn ended.
Leave another small tail to weave in later.
You do not need to tie knots every time you change yarn. The tails can usually be woven into the back of the project when you are finished.
Step 8: Finishing Your Weaving
When your weaving is complete, you will need to remove it from the loom and secure the warp threads.
There are several ways to finish a woven piece, but here is a simple method:
Carefully remove the warp loops from the top and bottom of the loom.
Cut the warp loops if needed.
Tie nearby warp threads together in small knots to secure the weaving.
Trim the ends or leave them as fringe.
Use a needle to weave any loose tails into the back of the project.
If you want a clean edge, you can tuck the warp ends into the back.
If you want a decorative look, you can leave the warp ends as fringe.
Tips for Beginners
Start small - A small project is the best way to learn. Try a simple square, rectangle, coaster, or sample swatch first.
Use smooth yarn - Textured yarns are beautiful, but they can be harder to learn with. Start with smooth yarn until you feel comfortable.
Keep your tension gentle - Most beginner weaving challenges come from pulling the yarn too tightly. Gentle tension makes weaving easier.
Mistakes are normal - Uneven rows, wavy edges, and loose spots are part of the learning process. Every project teaches you something.
Experiment - Once you understand the basic over-under pattern, you can try stripes, color blocks, texture, fringe, beads, roving, and different yarn weights.
Common Challenges
My sides are pulling inward - This usually means the weft yarn is being pulled too tightly. Try leaving a small arch in the yarn before pressing the row down.
My warp threads are loose - The warp may not have been wrapped with even tension. Next time, try keeping the yarn snug as you warp the loom.
My rows look uneven - That is very normal for beginners. Use your fingers or a comb to gently adjust the rows as you go.
My yarn is hard to pull through - Your warp may be too tight, or your weft yarn may be too thick. Try a thinner yarn or loosen your tension next time.
My weaving looks different than I expected - That is part of the fun. Different yarns, fibers, and tension can all change the final look.
Simple First Project Ideas
For your first project, try making a small woven sample.
Use one color for the warp and one or two colors for the weft.
Practice:
Warping the loom
Weaving over and under
Changing colors
Keeping the edges even
Removing the project from the loom
Finishing the ends
This first project does not need to be perfect. It is simply a practice piece to help you learn how the loom works.
What Can I Make With a Loom?
Depending on the size of your loom, you can make:
Small woven wall hangings
Coasters
Mug rugs
Fiber art samples
Dollhouse rugs
Decorative panels
Patch-style pieces
Ornaments
Bookmarks
Jewelry components
Texture studies
Practice swatches
Your loom is a creative tool, so feel free to experiment.
Final Note
Loom weaving is simple to start and full of possibilities. Once you learn the basic rhythm of over and under, you can begin creating texture, color, pattern, and shape.
There is no perfect first project. The goal is to learn, play, and enjoy the process